Whether you’re finally finishing your basement (hello, media room!), building an addition, or redoing an older home, you might be getting acquainted with our old friend, drywall.
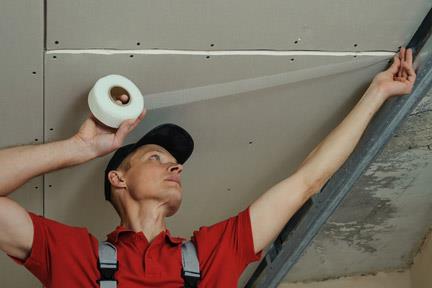
Ready, set, go: Check with your municipality before mudding to see if your drywall will require an inspection, because there’s nothing worse than tearing apart good work for the sake of red tape. Once the inspection is behind you (or not required at all), assemble your supplies. You’ll need premixed mud or dry mix (which you combine with water), a couple of trowels of different sizes, and drywall tape.
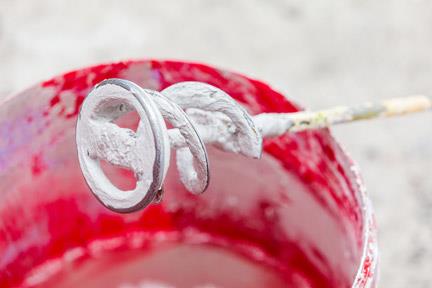
Get muddy: Mix up your mud so it’s free of any air bubbles or clumps, and remember that your first coat should be a little watery. Smooth the mud into the seams between your drywall boards – be generous! – until all of the seams are filled.
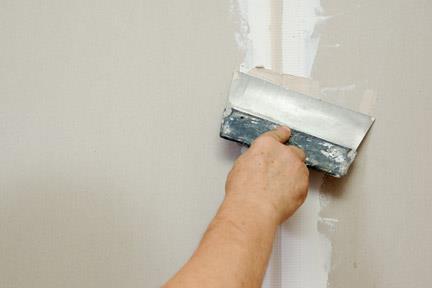
Time for tape: Smooth the mud down one last time, and then start applying strips of tape – keeping the centre of the tape lined up with the seam between the boards, as much as possible. Use your trowel to press the tape into the mud and smooth it down, starting
halfway down the joint. Then go back to the middle and smooth upwards along the joint.
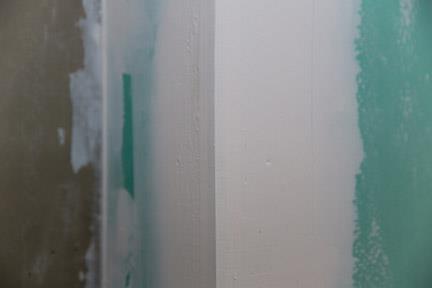
Be careful on the corners: You’ll notice the tape has a centre line, and that’s to make it easy to fold when it’s time to do the corners. Coat either side of the interior corners with mud, fold a section of tape in half, and press it into the corner – smoothing it down with your knife.
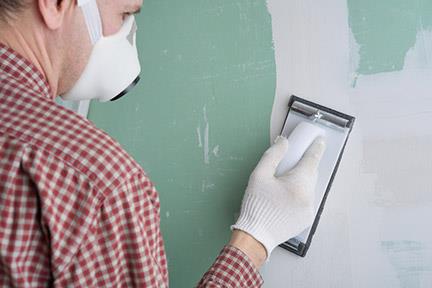
Finish the job: Fill any screw or nail holes with more mud, scrape away the excess, and leave it to dry. It can take up to 24 hours for your first coat to dry, so wait until the mud is white – not grey – before tacking the next step. Put on a mask, scrape off any lumps of dried mud, and sand any rough areas. Repeat the mudding, taping, drying, and sanding process once or twice more, as needed.